ADB over Wi-Fi and Ethernet
Android developers need to test their apps on real devices. Android Debug Bridge (ADB) is the tool of choice for pushing apps and debugging. There are three main ways ADB can be used:
- ADB over USB
- ADB over Wi-Fi
- ADB over Ethernet
For most phones and tablets, you can connect an Android device to your development machine using a USB-C cable and ADB will “just work.” As of August 2023, most Chromebooks do not support ADB over USB, leaving the two other methods: Wi-Fi and Ethernet.
ADB over Wi-Fi
If your device is running Android 11 (API 30) or higher, you can use the Pair Devices Using Wi-Fi functionality that ships with Android Studio.
For devices running Android 10 or lower, or if you are having trouble pairing via Android Studio, you can manually connect using an IP device and the terminal.
- Ensure that your development machine and Android device are on the same wireless network.
- Ensure that your network allows traffic on port
5555(or another manually chosen port). Some enterprise and home networks have firewalls that will prevent ADB from functioning. You can also use a mobile phone as a wireless network hub to provide a network that allows port5555traffic, although this may result in a large amount of network traffic and battery drain for the phone. - For non-ChromeOS phones and tablets, you need to enable TCP/IP mode. To do so, connect your Android device to your development machine via USB and run the command
adb tcpip 5555on the development machine. This will put the device into TCP/IP mode listening on port 5555. Once enabled, you can disconnect the USB cable. - Determine the IP address of your device. IPv4 addresses are the most common type of addresses and look something like this:
192.168.1.4. IPv6 addresses are becoming more prevalent and look something like this:2001:0db8:3c4d:0015:0000:0000:1a2f:1a2b. If your device lists both, use the IPv4 address.- On phones/tablets, go to Android settings, information, and scroll down until you see your IP address.
- On ChromeOS, click the clock at the bottom right, click the drop-down under the network icon, and then click on the network you are currently connected to. Under the Network heading you will see the IP address assigned to your Chromebook.
- On your development machine, type
adb connect IP_ADDRESS_FROM_STEP4, e.g.,adb connect 192.168.1.4. You can also manually specify the port likeadb connect 192.168.1.4:5555. - Use ADB or Android Studio as usual. You can verify the connection by running
adb devices.
ADB over Ethernet
In some cases, it may not be possible to use a Wi-Fi network due to firewall restrictions, or a wired solution may simply be preferable. In these cases, you can connect over an Ethernet cable. The steps are similar to ADB over Wi-Fi but using an Ethernet cable.
Prerequisites
Before you get started, you need to ensure that your device supports Ethernet connectivity:
- Ethernet cable: A physical cable to run between your devices. Ethernet types Cat 5/5e/6/6a are all fine.
- Ethernet port: An Ethernet port for both your test device and your development machine.
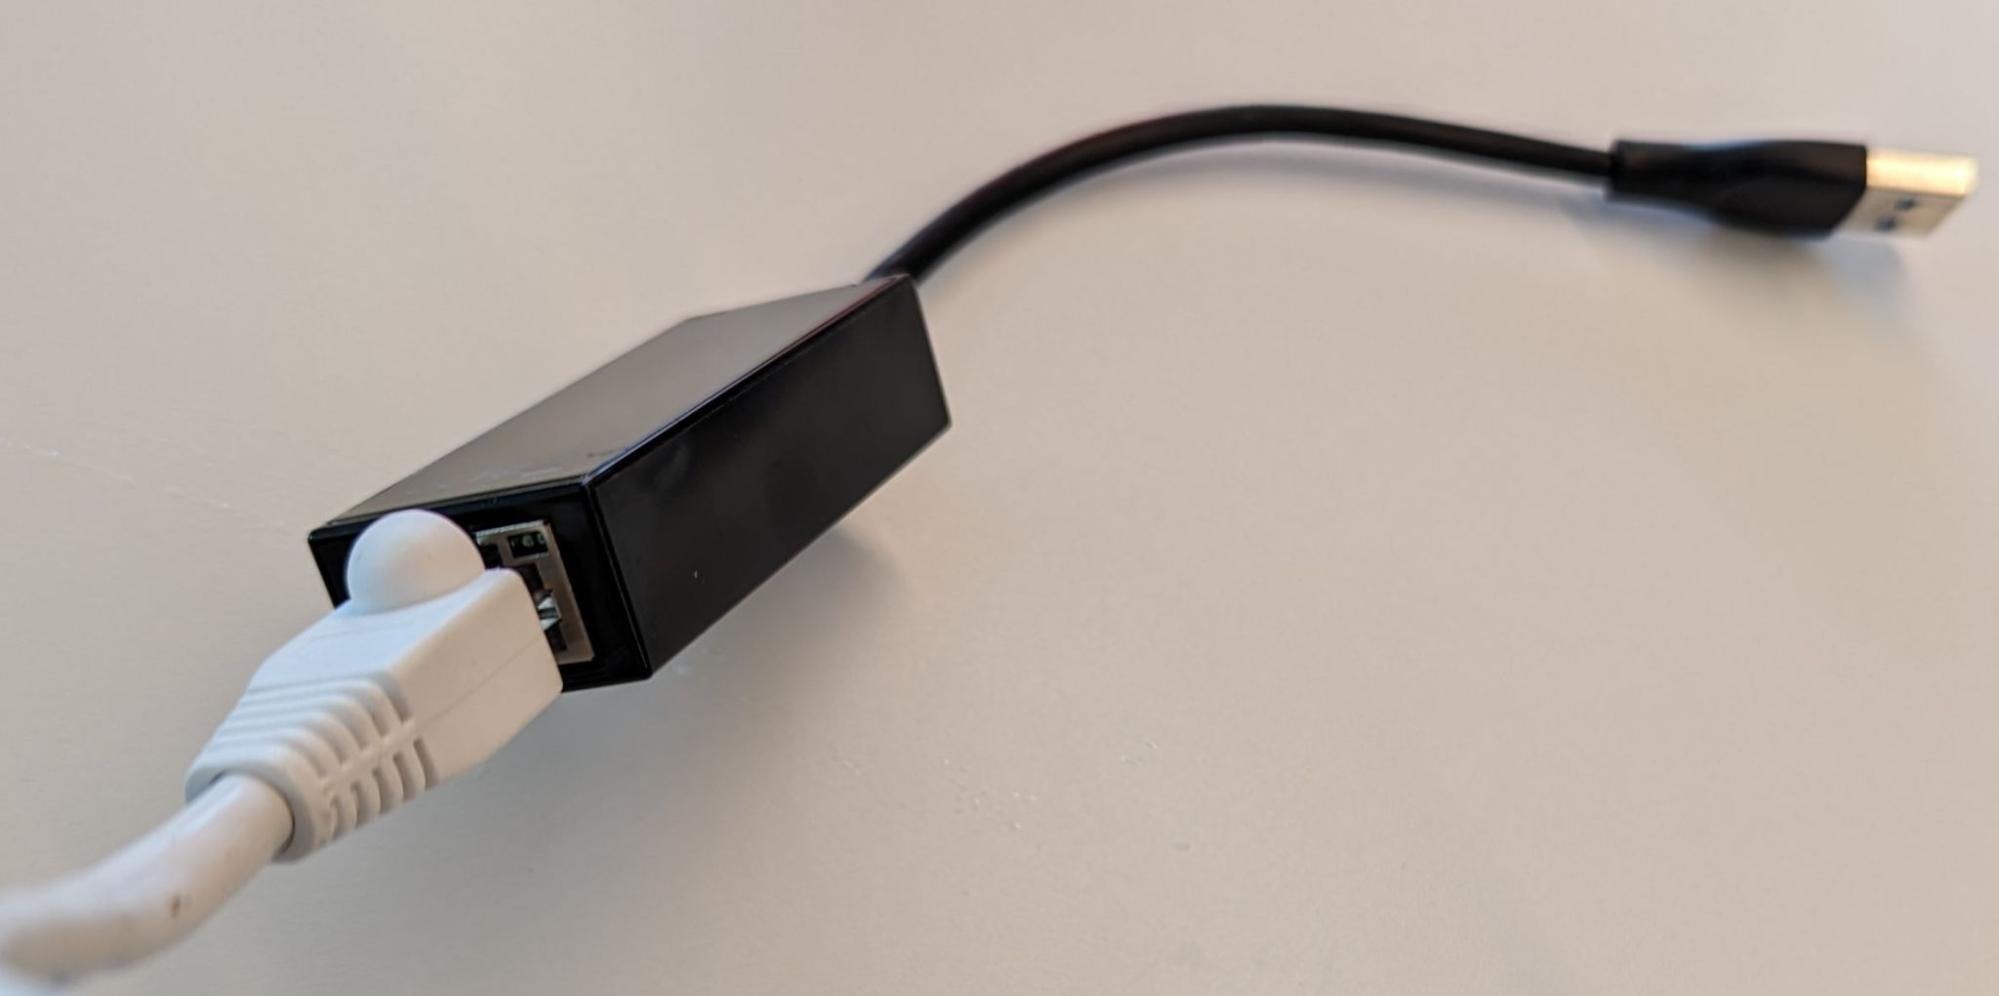
A USB-A Ethernet dongle.
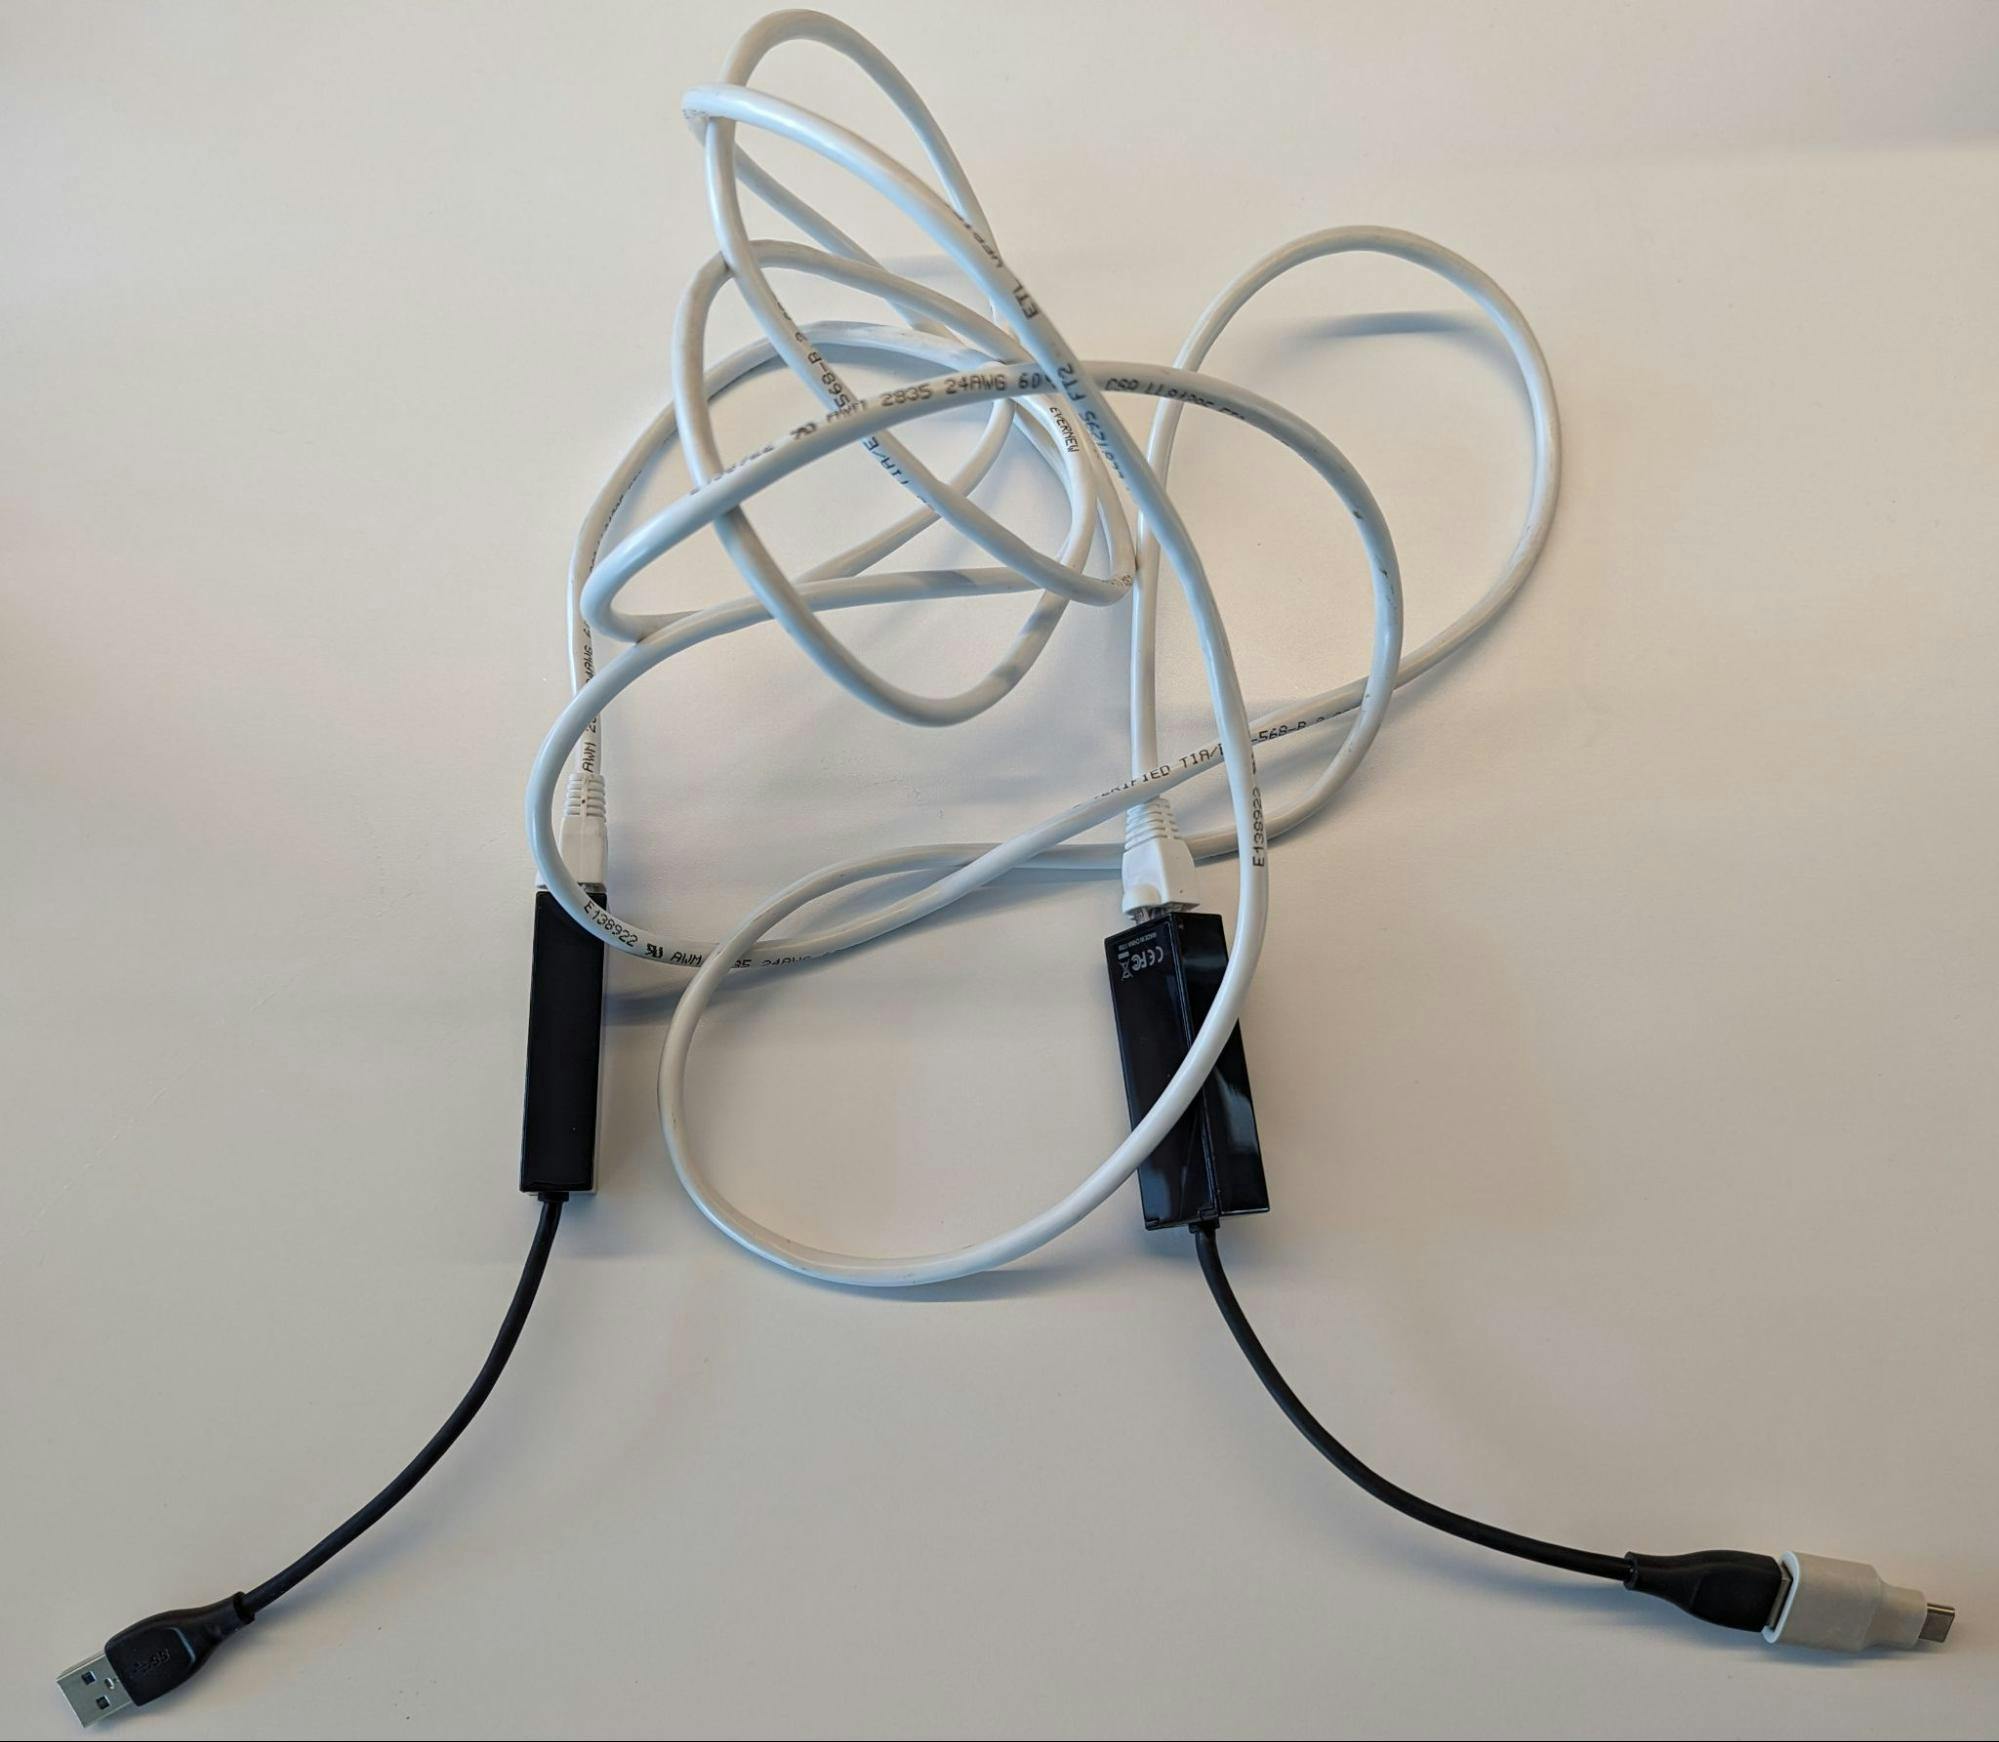
A complete ADB over Ethernet setup including USB-A Ethernet dongle, CAT6 Ethernet cable, USB-A Ethernet dongle, and USB-A to USB-C adapter.
Connecting ADB over Ethernet
Once you have physically connected your devices with an Ethernet cable, you can enable ADB over the connection.
- On your development machine, take note of the IP address assigned to the Ethernet adapter. If no address is assigned, you may need to manually set this address, either to something in the
192.168.1.xrange like192.168.1.3, or configure your adapter to connect on the local network only and not to use DHCP:- For Windows, see Change TCP/IP settings, section “To specify IPv4 settings manually.” Set the IP address to
192.168.1.3. - For Mac, see Use DHCP or a manual IP address on Mac, and follow the directions for a manual IP address. Set the IP address to
192.168.1.3. - For Linux, use your distributions graphical tool to manually set the ip address or set it from the terminal as follows: run
ifconfigto find your adapter’s identification, then use it in place ofenx00eXXXXXXXXXwhen runningsudo ifconfig enx00eXXXXXXXXX 192.168.1.3 broadcast 192.168.255.255 netmask 255.255.0.0. This will change the IP address to192.168.1.3.
- For Windows, see Change TCP/IP settings, section “To specify IPv4 settings manually.” Set the IP address to
- On the Chromebook you will be debugging, set the Ethernet address to be in the same network range as your development machine:
- Press CTRL+ALT+T to open crosh, the ChromeOS shell.
- Type
shelland press Enter. - Type
ssh root@localhost - Type
yesto accept the SSH (Secure Shell Protocol) fingerprint if asked - The default password is
test0000 - Type
ifconfig eth0 192.168.1.2. This will set the first Ethernet device to the address192.168.1.2(remember this for later). Ifeth0does not exist, useifconfigto list all the network devices and determine the correct identifier for your Ethernet port or dongle.
- On your development machine, type
adbconnect 192.168.1.2. You can also manually specify the port withadb connect 192.168.1.2:5555. - Use ADB or Android Studio as usual. You can verify the connection by running
adb devices.